Today I needed to upgrade a set of Terraform configuration to the AzureRM 2.0 provider (technically 2.9.0 as of this writing). My need is primarily to get some bug fixes regarding Application Gateway and SSL certificates, but I knew I’d need to move sooner or later as any new resources and properties are being developed on this new major version.
This post will outline my experience and some issues I faced; they’ll be very specific to my set of configuration but the process may be helpful for others.
To start, I made sure I had the following:
- A solid source-control version that I could roll back to
- A snapshot of my state file (sitting in an Azure storage account)
Then, within my ‘terraform’ block where I specify the backend and required versions, I updated the value for my provider version:
terraform { backend "azurerm" { } required_version = "~> 0.12.16" required_providers { azurerm = "~> 2.9.0" } } |
Next, I ran the ‘terraform init’ command with the upgrade switch; plus some other parameters at command line because my backend is in Azure Storage:
terraform init `
    -backend-config="storage_account_name=$storage_account" `
    -backend-config="container_name=$containerName" `
    -backend-config="access_key=$accountKey" `
    -backend-config="key=prod.terraform.tfstate" `
-upgrade |
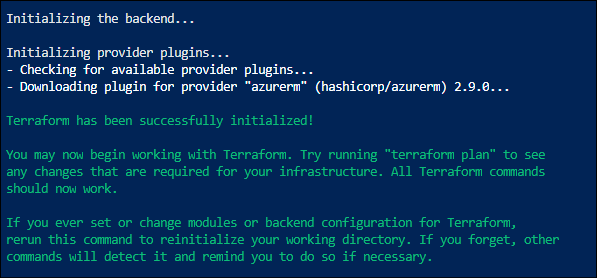
Since my required_providers property specified AzureRm at 2.9.0, the upgrade took place:
Now I could run a “terraform validate” and expect to get some syntax errors. I could have combed through the full upgrade guide and preemptively modified my code, but I found relying upon validate to call out file names and line numbers easier.
Below are some of the things I found I needed to change – had to run “terraform validate” multiple times to catch all the items:
Add a “features” property to the provider:
provider "azurerm" { subscription_id = var.subscription client_id = "service principal id" client_secret = "service principal secret" tenant_id = "tenant id" features {} } |
Remove “network_security_group_id” references from subnets
Modify “address_prefix” to “address_prefixes on subnet, with values as a list

Virtual Machine Extension drops “resource_group”, “location”, and “virtual_machine_name” properties
Virtual Machine Extension requires “virtual_machine_id” property

Storage Account no longer has “enable_advanced_threat_protection” property
Storage Container no longer has “resource_group_name” property
Finally, the resources for Azure Backup VM policy and protection have been renamed – this is outlined in the upgrade guide (direct link).

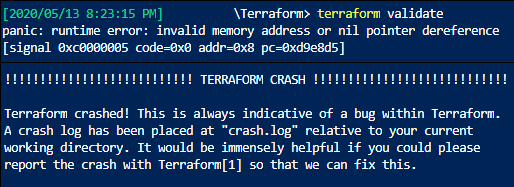
It was this last one that caused the most problems. Before I had replaced it, my “terraform validate” was crashing on a fatal panic:
Looking in the crash.log, I eventually found an error on line 2572:
2020/05/13 20:30:55 [ERROR] AttachSchemaTransformer: No resource schema available for azurerm_recovery_services_protected_vm.rsv-protect-rapid7console
This reminded me of the resource change in the upgrade guide and I modified it.
Now, “terraform validate” is successful, yay!
![]()
Not so fast though – my next move of “terraform plan” failed:
Error: no schema available for azurerm_recovery_services_protected_vm.rsv-protect-rapid7console while reading state; this is a bug in Terraform and should be reported
I knew this was because there was still a reference in my state file, so my first thought was to try a “terraform state mv” command, to update the reference:
terraform state mv old_resource_type.resource_name new_resource_type.resource_name
terraform state mv azurerm_recovery_services_protection_policy_vm.ccsharedeus-mgmt-backuppolicy azurerm_backup_policy_vm.ccsharedeus-mgmt-backuppolicy
Of course, it was too much to hope that would work; it error-ed out:
Cannot move
azurerm_recovery_services_protection_policy_vm.ccsharedeus-mgmt-backuppolicy
to azurerm_backup_policy_vm.ccsharedeus-mgmt-backuppolicy: resource types
don't match.
I couldn’t find anything else online about converting a pre-existing terraform state to the 2.0 provider with resources changing like this. And from past experience I knew that Azure Backup didn’t like deleting and re-creating VM protection and policies, so I didn’t want to try a “terraform taint” on the resource.
I decided to take a risk and modify my state file directly (confirmed my snapshot!!)
Connecting to my blob storage container, I downloaded a copy of the state file, and replaced all references of the old resource type with the new resource type.
After replacing the text, I uploaded my modified file back to the blob container, and re-ran “terraform plan”.
This worked! The plan ran successfully, and showed no further changes required in my infrastructure.